Step 1
LaTeX Installation
Install MiKTeX, enable on-demand package installation, and verify the base toolchain is ready.
Download MiKTeX
Open the official MiKTeX download page and click Download on the Windows tab to get the installer.
Official MiKTeX downloads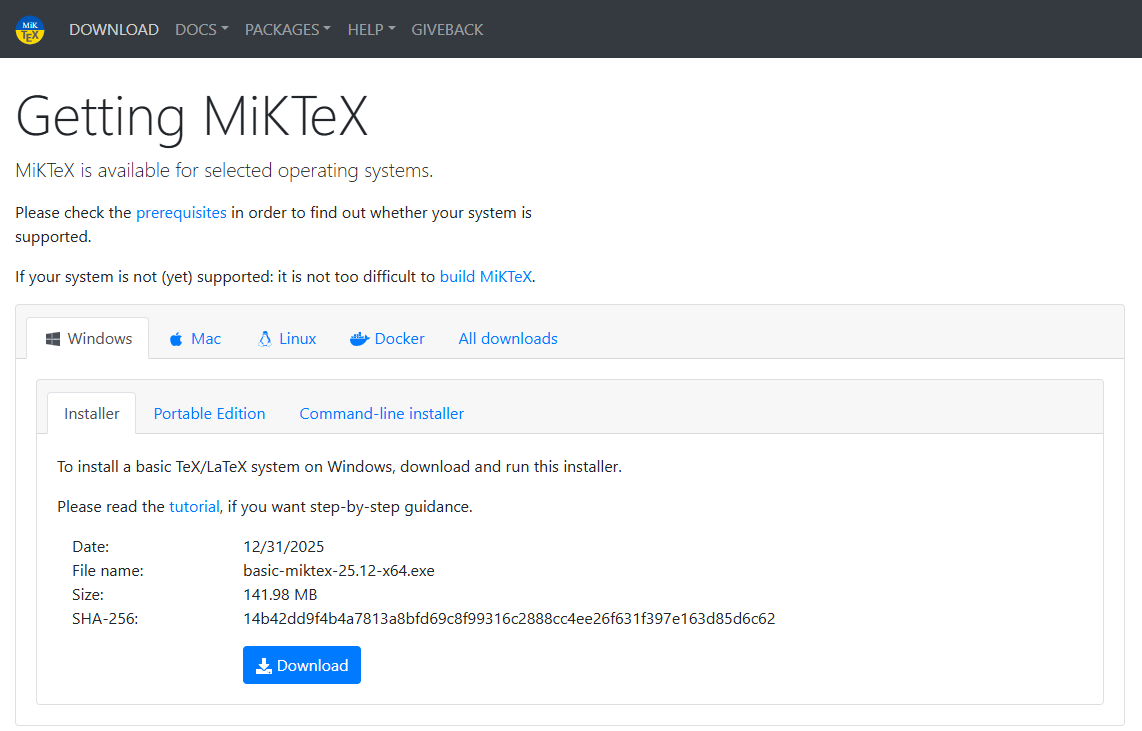
Install MiKTeX
- Download the Windows installer from the official MiKTeX download page.
- Finish the normal installer flow, then open MiKTeX Console once after installation.
- Run updates in MiKTeX Console before moving on, so the package database is current.
- Keep on-demand package installation enabled, since that is the working assumption of this guide.
- Confirm that
latexmkis available. If it is missing, install it through MiKTeX Console before continuing.
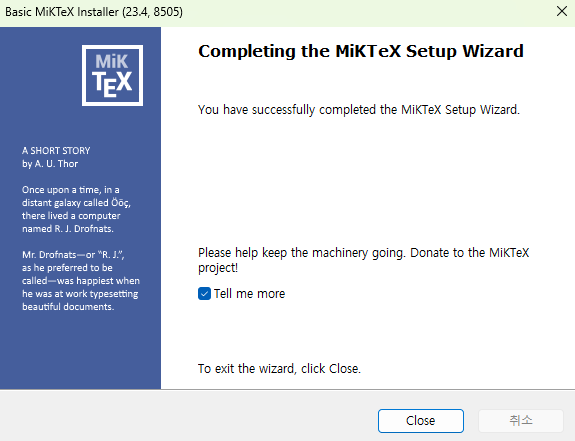
The installer itself is straightforward. The first real checkpoint is that the setup wizard reaches its completion screen without errors.
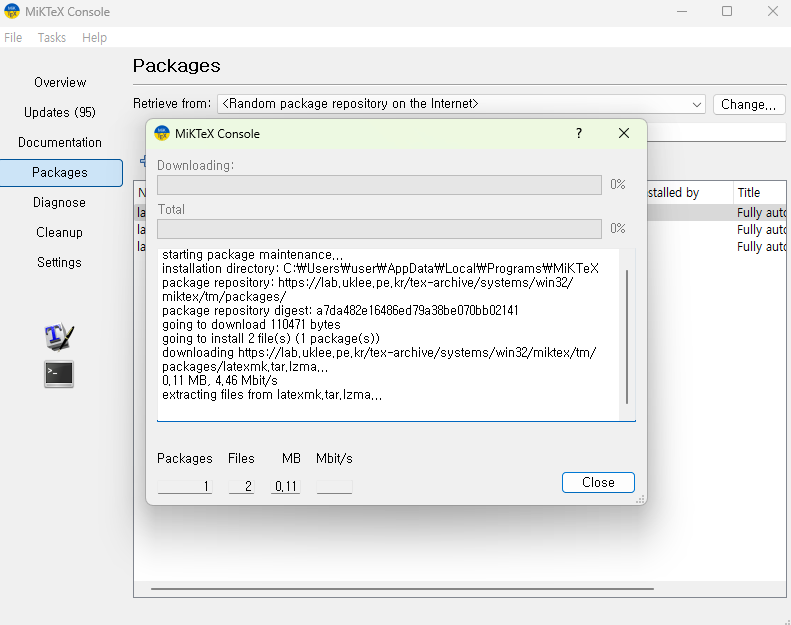
After setup, search for latexmk in MiKTeX Console and confirm that the package is available for installation.
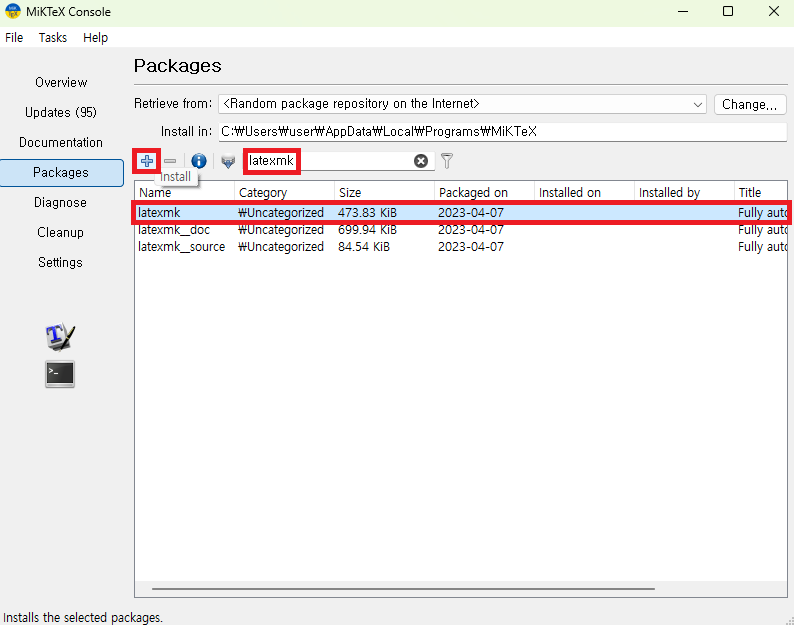
If latexmk is missing, let MiKTeX install it and wait for the package operation to finish.
Perl Installation
latexmk and later latexdiff-style workflows depend on Perl-based tools. The Windows installation and verification steps are below.
If Perl is not already available on Windows, install Strawberry Perl after MiKTeX so later latexmk and latexdiff workflows can run.
Open the official Strawberry Perl site and install it if Perl is not already available.
Strawberry Perl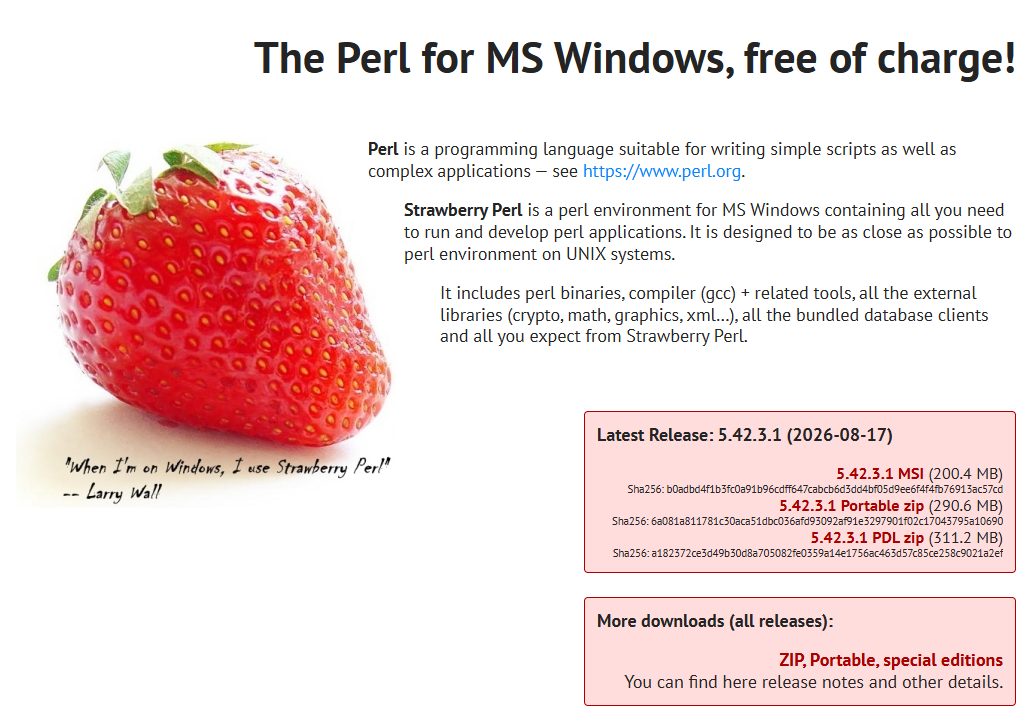
Open a new PowerShell window and verify:
perl --version
where.exe perl
latexmk -v
Package auto-installation
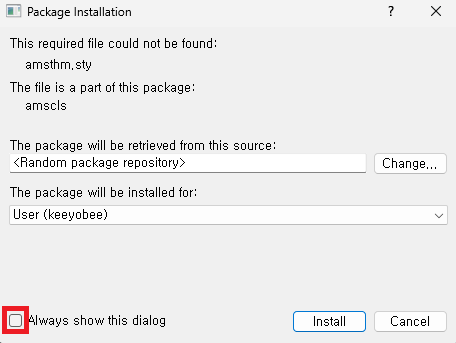
When a build pauses mid-compile, MiKTeX is likely fetching a missing package. On Windows, the dialog can appear behind the editor or as a small taskbar preview — look for it before assuming the build has hung.
If a build seems to pause, look for the MiKTeX package-install prompt. On Windows, it can appear behind the editor or as a small taskbar preview.
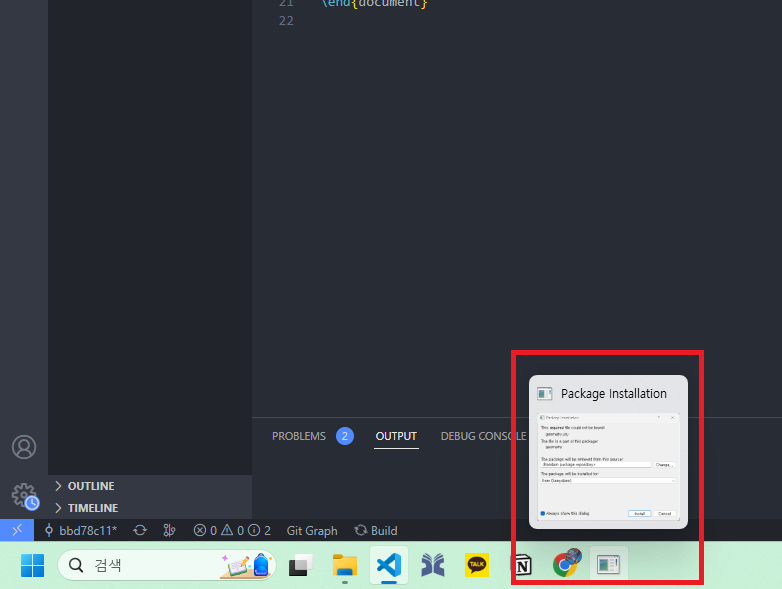
When the package dialog appears, allow MiKTeX to install the missing package so the build can continue.