
Step 2
VS Code Installation
Install VS Code and add LaTeX Workshop on Windows. Check that the extension is enabled and that its build command appears.
Install VS Code
On the official VS Code download page, open Other downloads in the Windows section and choose User Installer. Download the x64 installer for an Intel or AMD PC, or the Arm64 installer for an Arm PC.
Official VS Code downloads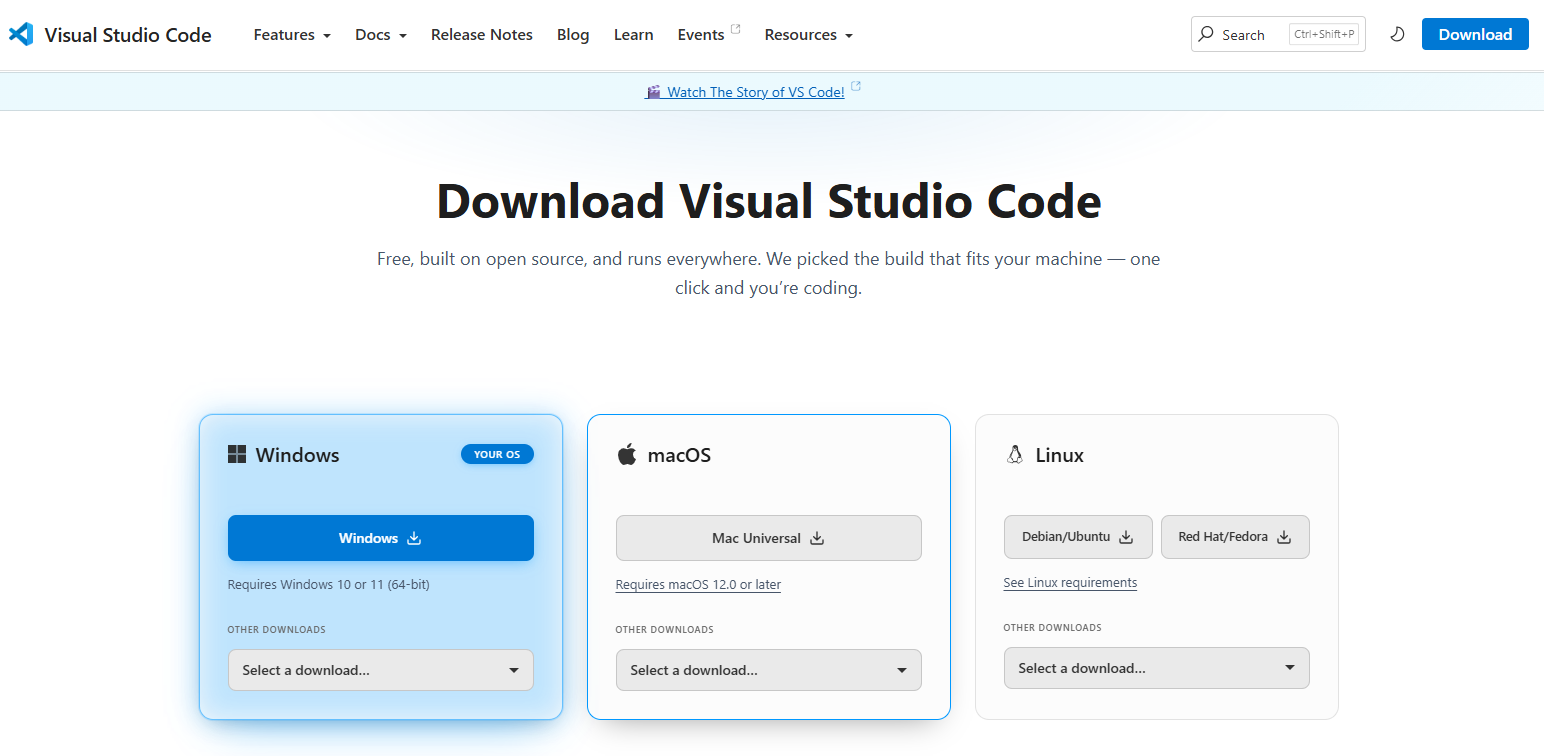
Run the downloaded installer and follow its prompts. The User Installer installs VS Code for your account without requiring administrator permissions. When setup finishes, open VS Code and confirm that its start screen appears.
Install LaTeX Workshop
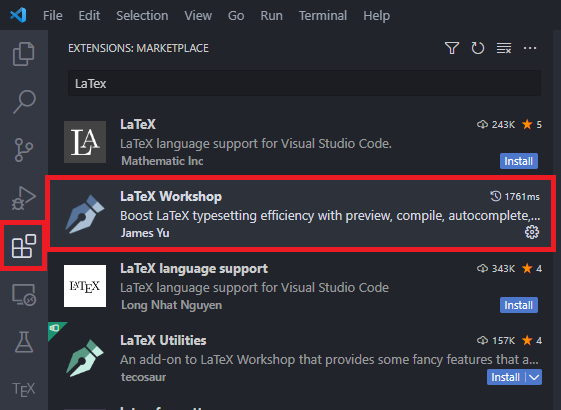
Select the Extensions icon on the left side of VS Code, or press Ctrl+Shift+X to open the Extensions view.
LaTeX Workshop on the VS Code Marketplace
Search for LaTeX Workshop. Select the extension published by James Yu and choose Install.
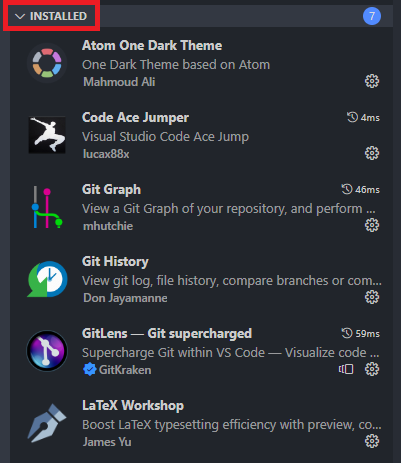
Find LaTeX Workshop in the Installed extensions list. If it is marked Disabled, choose Enable or Enable (Workspace) from its Manage menu. Reload the VS Code window if prompted.
Check the build command
Open the Command Palette with Ctrl+Shift+P and search for Build LaTeX project. If the command does not appear, open a .tex file and search again, then check that LaTeX Workshop is enabled. You will build a PDF in the next project-template step.