
Topic 1
Git Installation
Install Git for Windows, set the name and email recorded in commits, and verify both in a new PowerShell session.
Install Git
Open the official Git for Windows installation page.
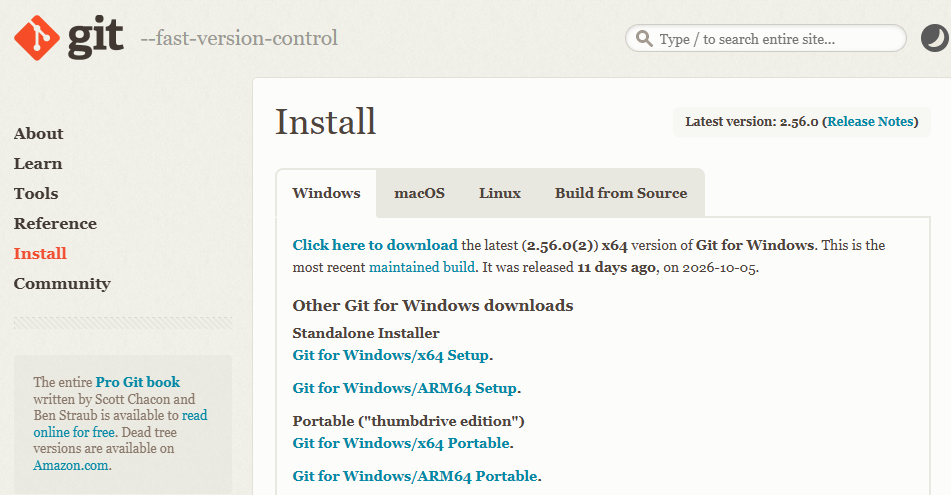
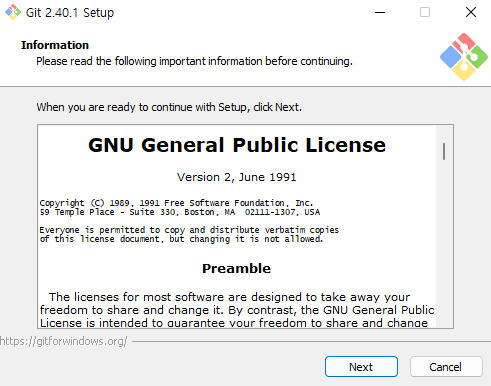
Download and run the x64 or ARM64 Setup file that matches your Windows PC. When the installer opens, select Next to continue.
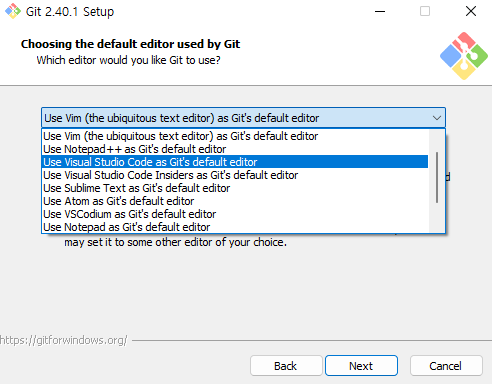
When the default editor screen appears, choose Use Visual Studio Code as Git's default editor if you want Git to open VS Code for editing. Review the descriptions on the remaining installer screens as you continue.
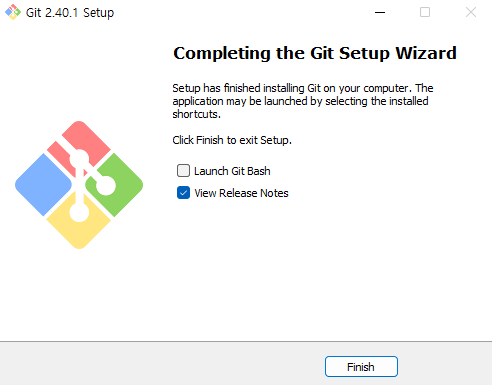
Select Finish on the final installer screen. Close any PowerShell or VS Code terminals that were open before installation, then open a new one.
Set your commit identity
Git records an author name and email address in commits. The --global values below are defaults for your user account on this computer; an individual repository can use different values.
Open a new PowerShell window. In VS Code, you can also open Terminal > New Terminal and select PowerShell. Enter these commands:
git config --global user.name "Your Name"
git config --global user.email "you@example.com"
Replace Your Name and you@example.com with the name and email you want to use. To keep your personal email out of public commits, check the noreply address provided in your GitHub account and use it here.
Verify the install
In a new PowerShell window, check the Git version and the global name and email separately:
git --version
git config --global user.name
git config --global user.email
Setup is complete when git --version prints a version and the two configuration commands show the name and email you entered. If the terminal cannot find git, close any terminal opened before installation and try again in a new PowerShell window.